
7 Tips For Taking High Quality Clear & Sharp iPhone Photos
Do your iPhone photos often end up looking grainy or blurred? If so, don’t despair! It’s perfectly possible to take amazingly high quality images with your iPhone. In this tutorial you’ll discover seven techniques for shooting professional looking clean and sharp iPhone photos that are better quality than you ever thought possible.

Mục lục
1. Keep Steady For Sharp iPhone Photos
If you move your iPhone at all when taking a photo, your image can appear blurred due to camera shake.
This is especially common in low light conditions when the camera needs to use a slower shutter speed to allow enough light in to create a decent exposure.
If you’re getting camera shake resulting in blurry photos, you’ll need to steady your iPhone somehow.
If you have an iPhone tripod and iPhone tripod mount, be sure to use them. Otherwise you can improvise by placing your phone on a solid surface such as a wall or railing.
When you’re using a tripod, it’s a good idea to use a remote shutter to trigger the shutter button so that you don’t have to touch the iPhone at all.
You can use a remote bluetooth shutter release like the Muku Shuttr, or just plug in your Apple earbuds and use the volume buttons to fire the shutter.
Another reason for blurry images might be because the HDR photo mode is on in the iPhone camera app. The HDR setting takes three quick shots at different exposures and then combines them together to create a single well-exposed image.
But if you move the camera while the different shots are being taken, the resulting image can appear blurred. So if you’re shooting in low light with HDR on, it’s best to use a tripod.
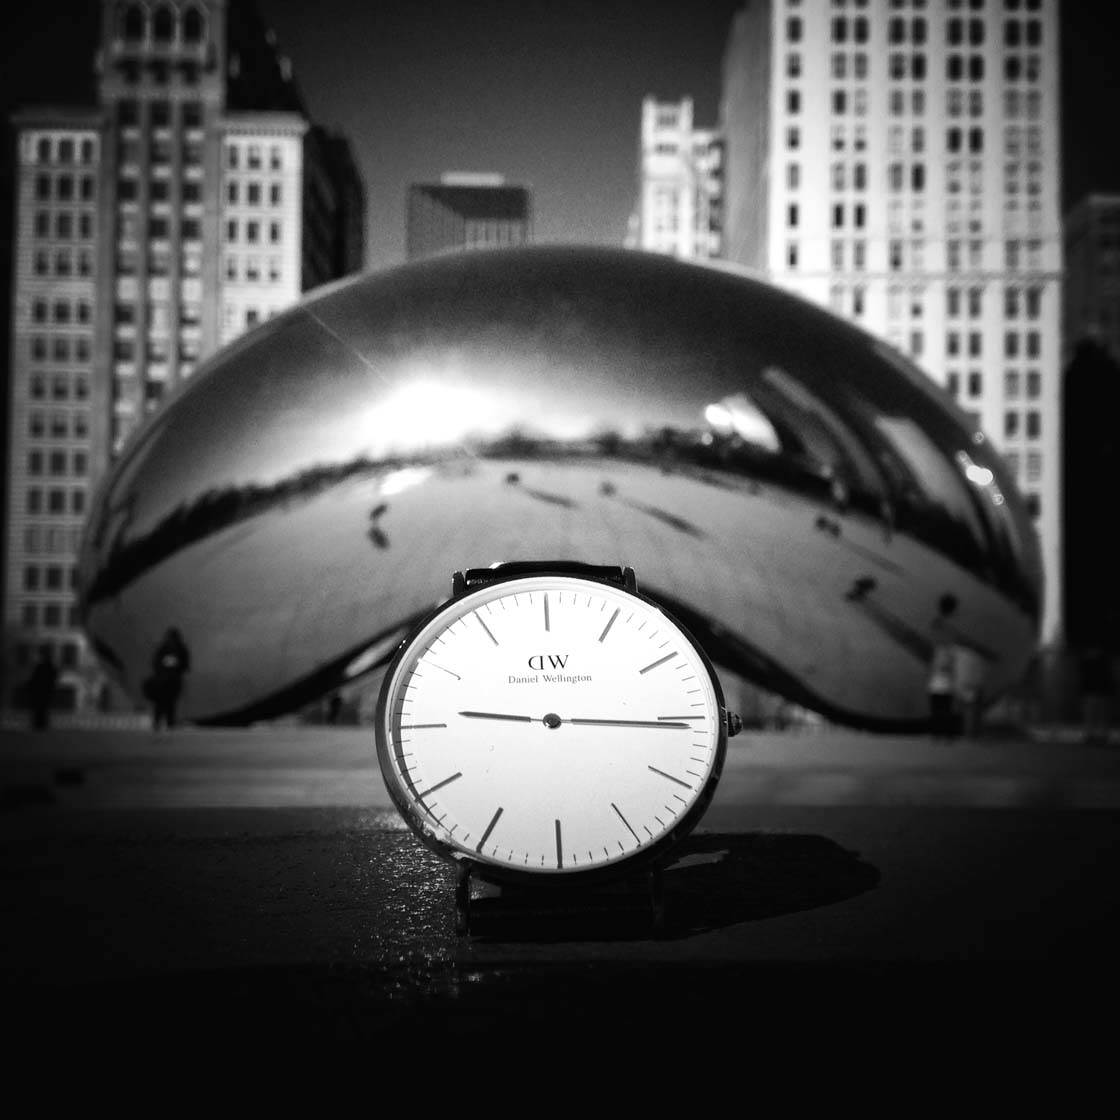
2. Set Your Focus Point
Getting your main subject in sharp focus is essential. While your iPhone’s camera does have a good autofocus feature, I would recommend that you always set the focus point manually to ensure you’re focusing on just the right part of the scene.
For example, in a portrait photo you’d normally set the focus point on the face of the person. In the photo below, the watch is the focal point so that’s where set my focus.

To set your focus point, simply tap your main subject on the screen in the camera app. A yellow box will appear around the area where the focus has been set.
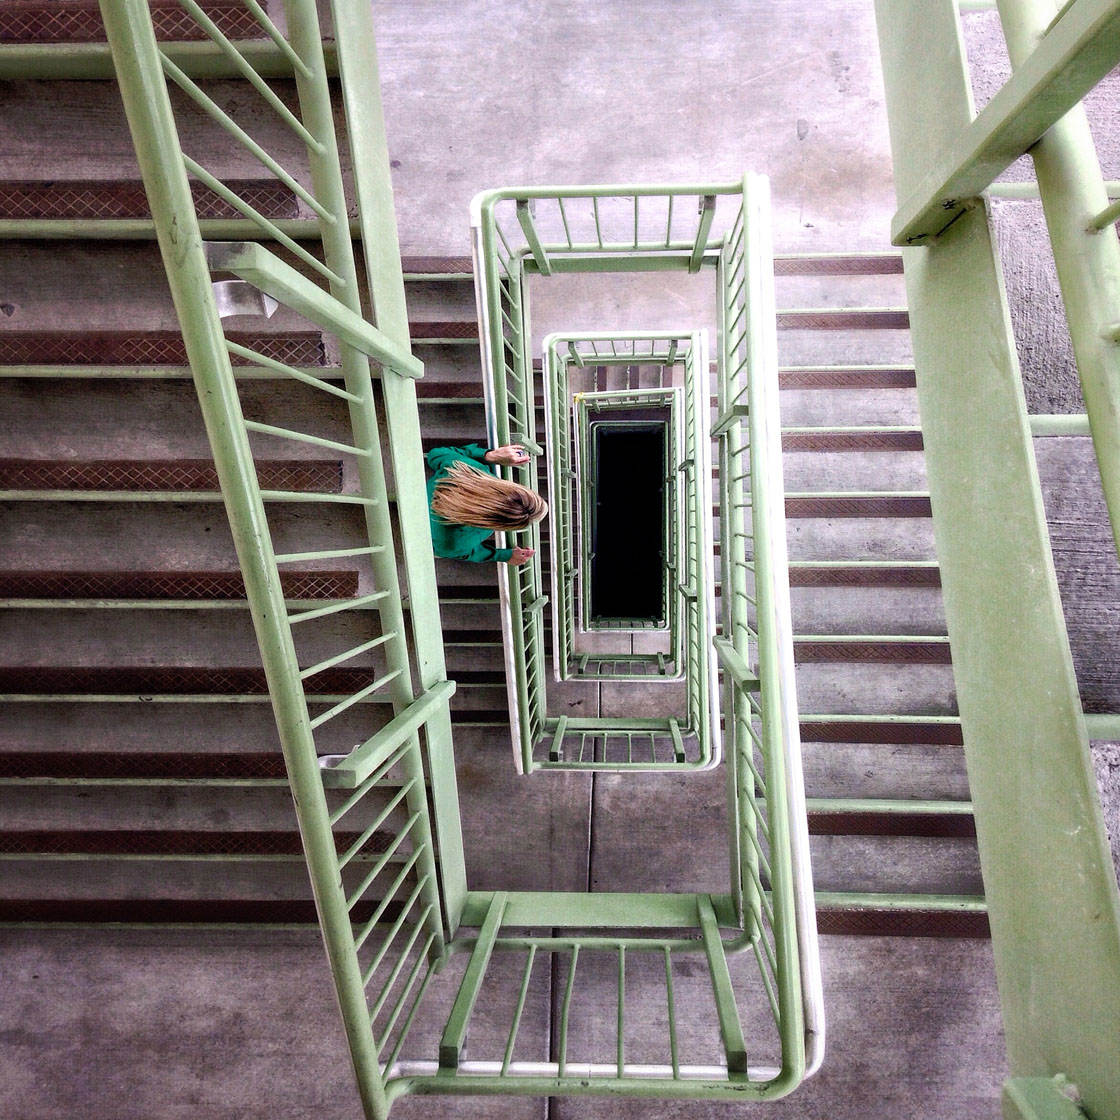
Setting the focus manually is especially important in close-up shots. The closer the subject is to the camera’s lens, the shallower the depth of field will be.
A shallow depth of field means that only a small part of the image will be in focus while the rest of it appears blurred.
Therefore, it’s vital that you tap to set focus on your main subject, otherwise the subject might appear blurry while the background is in focus.
3. Expose The Shot Correctly
Exposure refers to the brightness of your photo. It’s essential to create images with good exposure levels to ensure you can see plenty of detail in the important parts of the scene.
If the image is under-exposed, the detail will be hidden in the dark shadows. And if it’s over-exposed, you’ll lose detail in the brighter highlights.
So how do you get the exposure right? It’s actually very simple on the iPhone.
First you need to tap to set focus on your main subject, then simply swipe up or down on the screen to adjust the exposure.
Swipe up to make the image brighter and down to make it darker. The aim is to ensure your main subject is correctly exposed with plenty of color and detail visible.
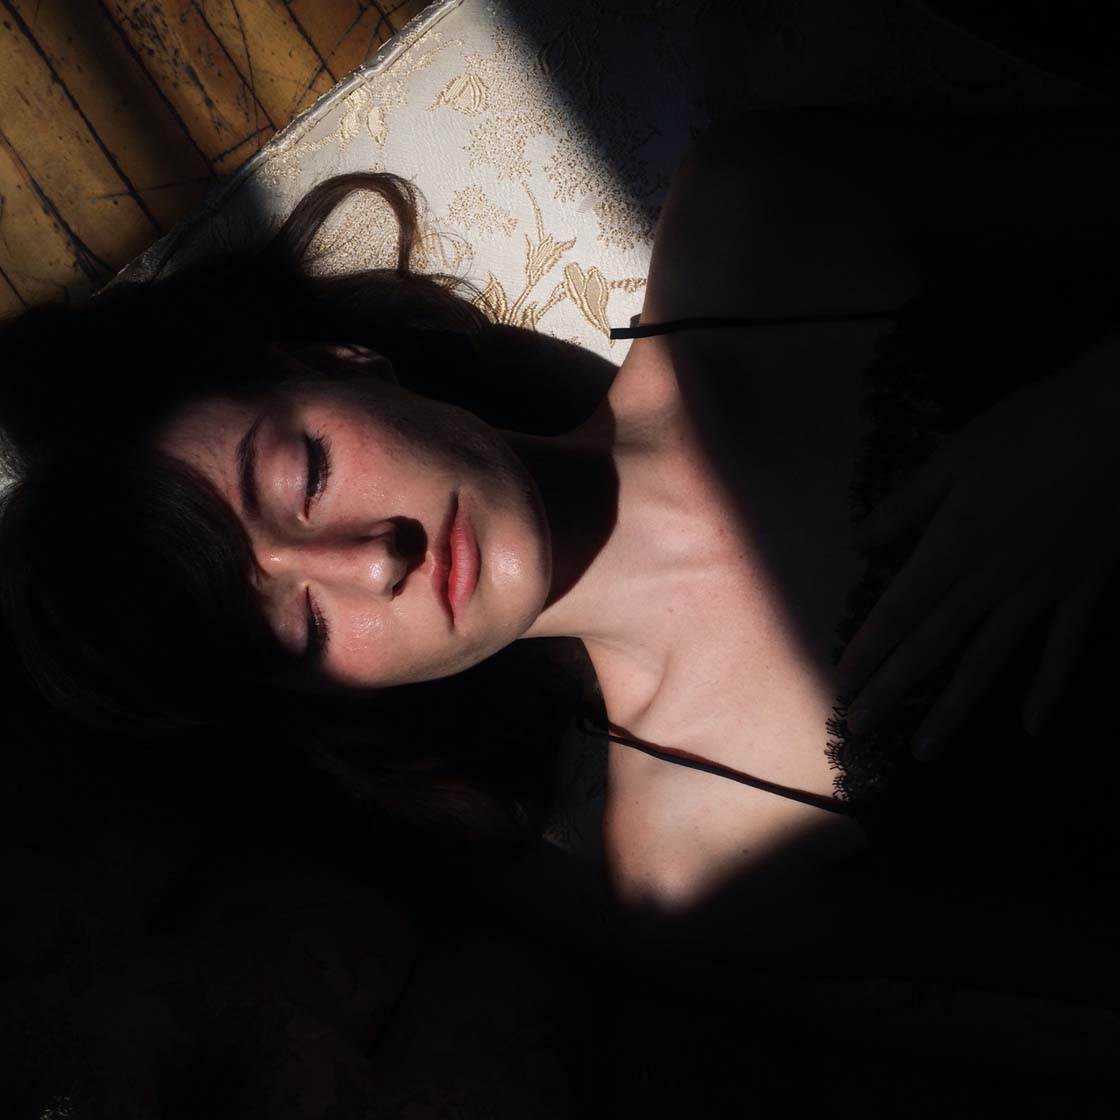
In high contrast scenes like the one above where you have dark shadows, it’s fine for these areas to appear dark or even pure black.
In fact, dark shadows can add to the mood and atmosphere of the image. The important thing is to ensure that your main subject isn’t under or over-exposed.
If in doubt, slightly under-expose the photo. You can usually brighten up the shadows a little in post-processing, but over-exposed “blown out” highlights that appear pure white and lack any detail can never be recovered in editing.
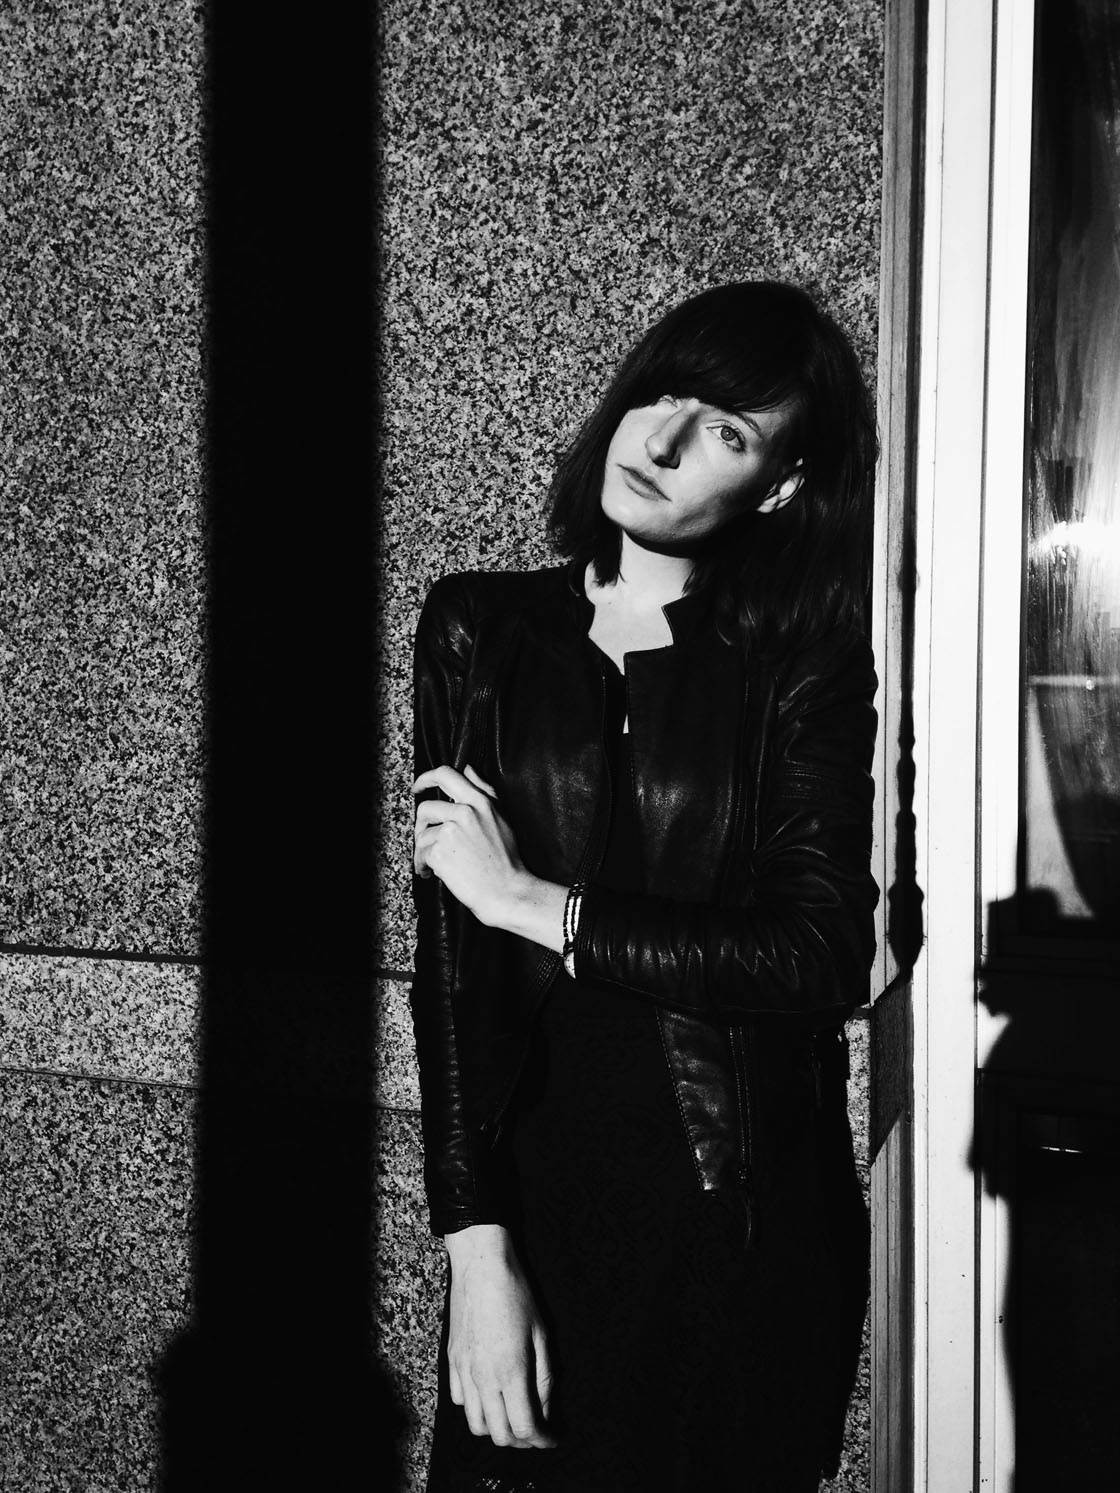
4. Pay Attention To The Light
When you’re taking photos, pay careful attention to the direction of the light. This is especially important in portrait photography when you want to ensure that the facial details are clearly visible.
In the photo below, positioning the subject with his back to the light means that his face is in dark shadow with very little detail visible.
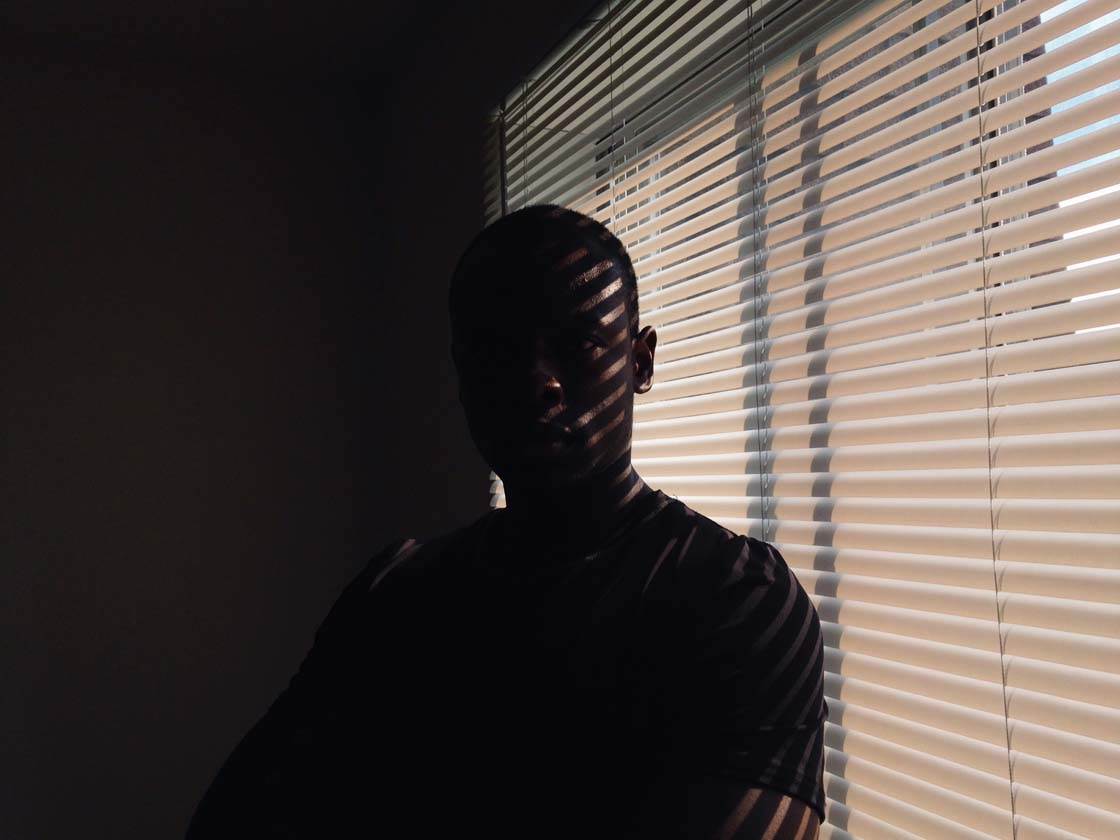
In the next photo you can see that by simply turning my model towards the window, the light falls onto his face at a much better angle.
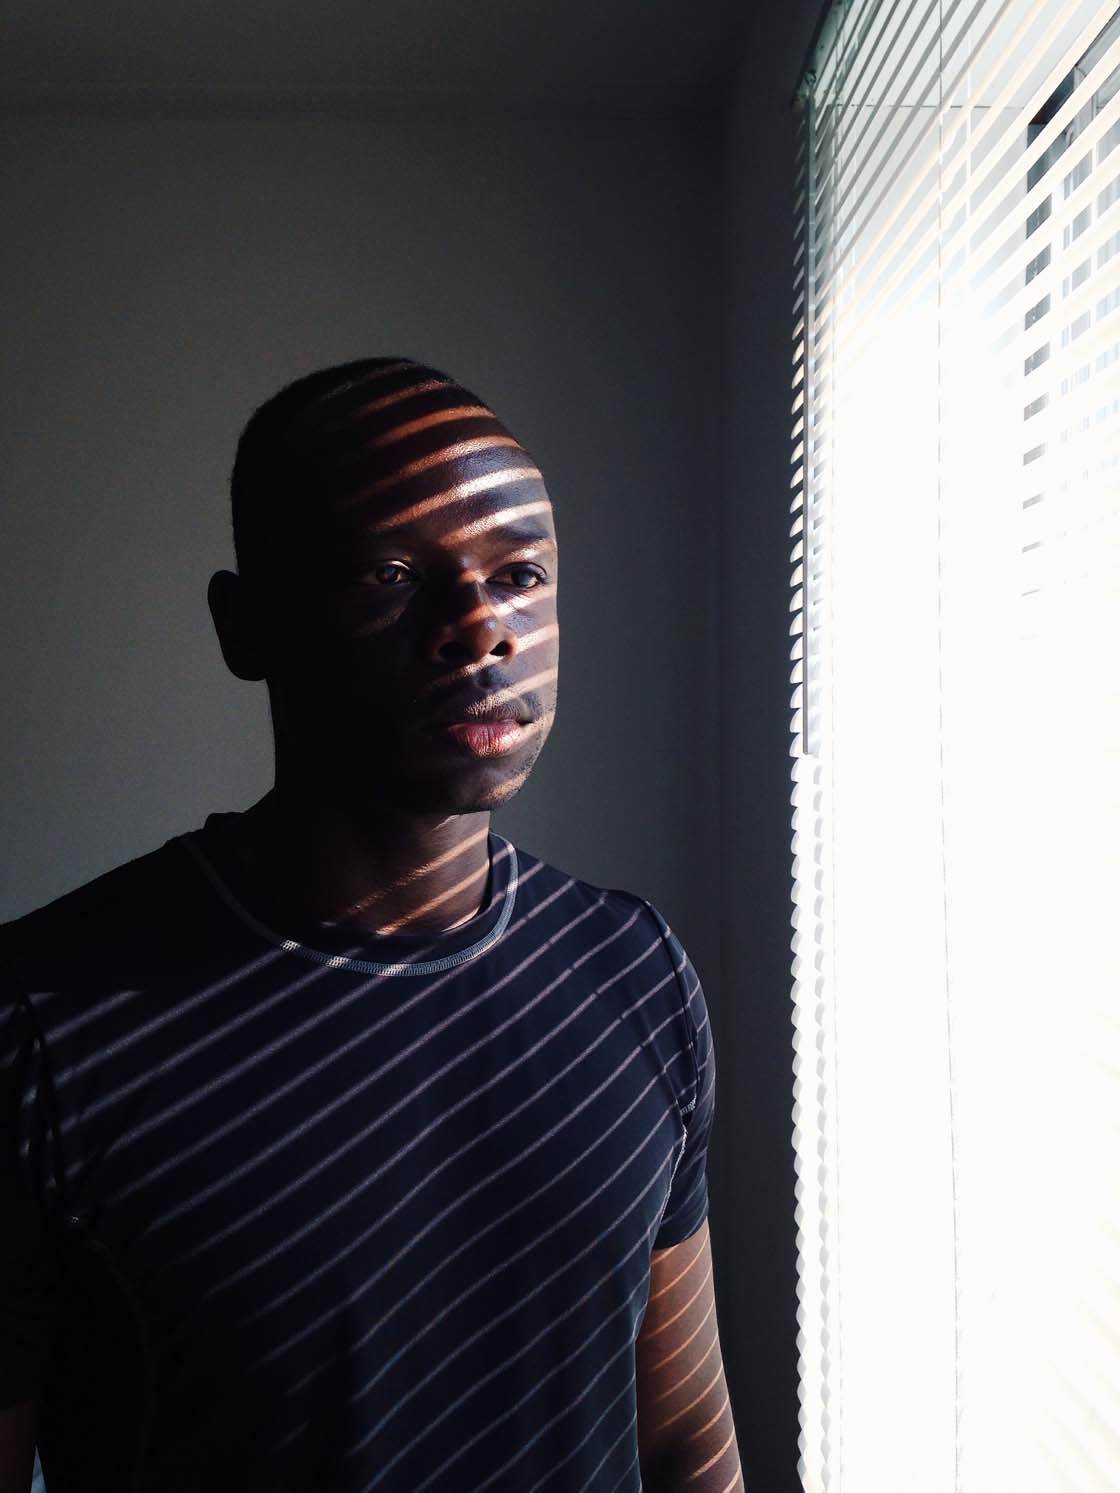
Of course, there are still shadows created by the window blinds, and one side of his face is in shadow, but this was a creative choice to add some visual interest and drama.
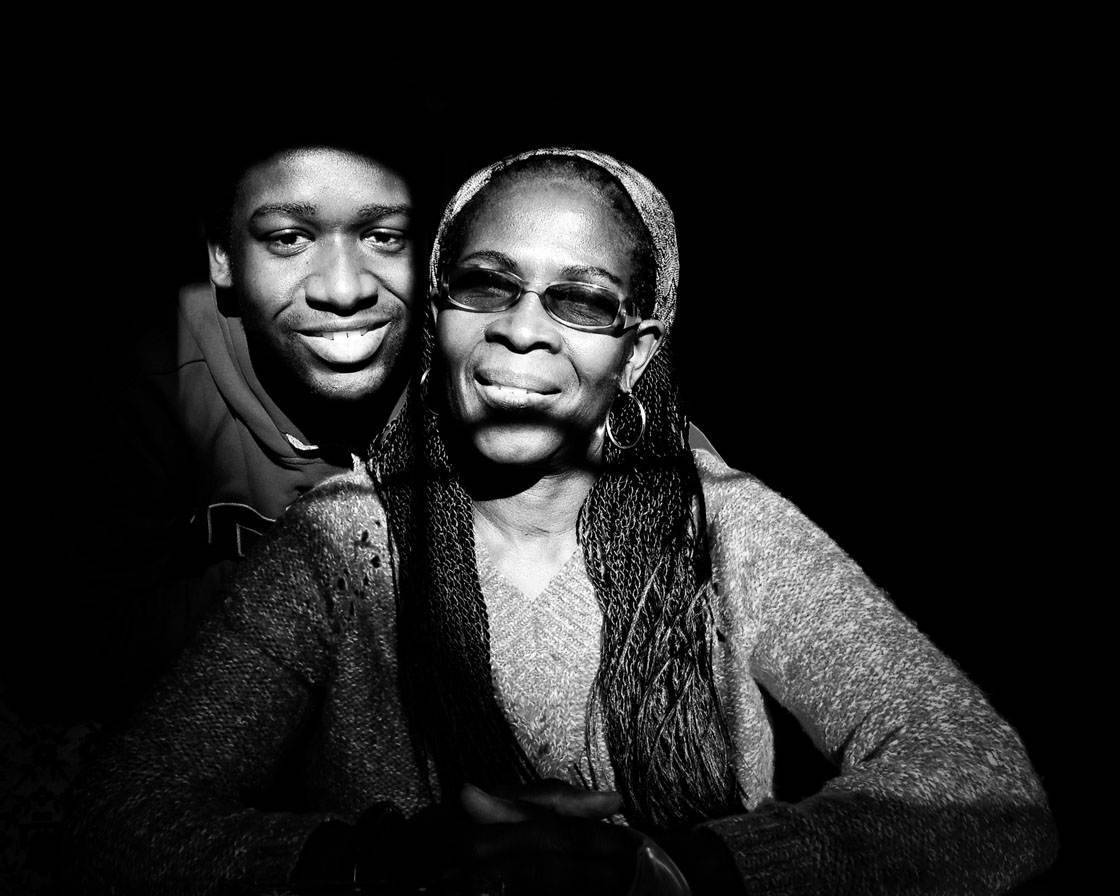
If you want to fully illuminate your subject’s face to show maximum detail, you’ll need to ensure the light is shining directly towards them like the example below.
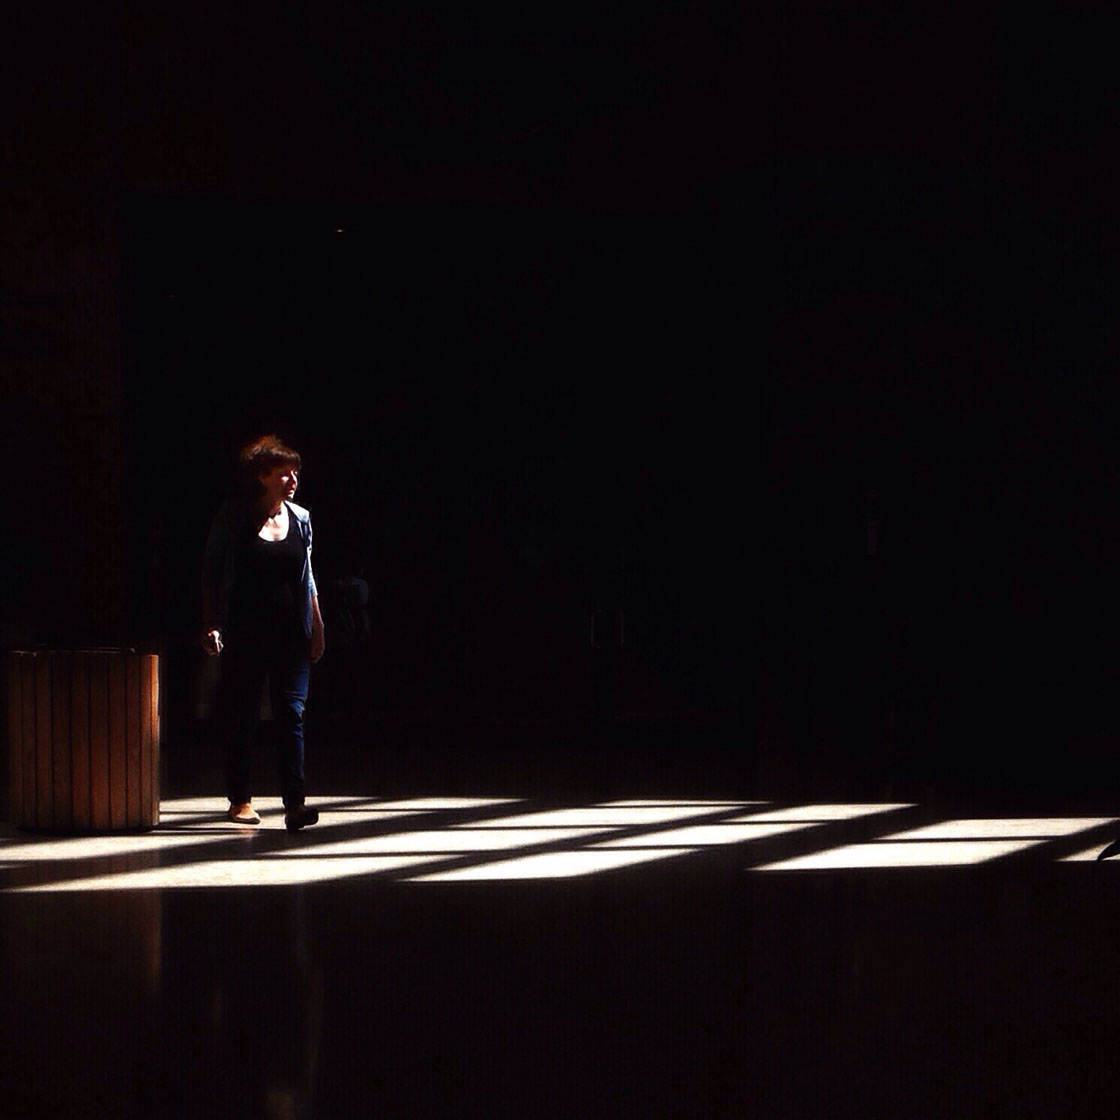
5. Be Mindful Of Movement In The Scene
When shooting photos, you’ll notice that anything moving in the scene may appear blurred, especially in low light when the camera uses a slower shutter speed.
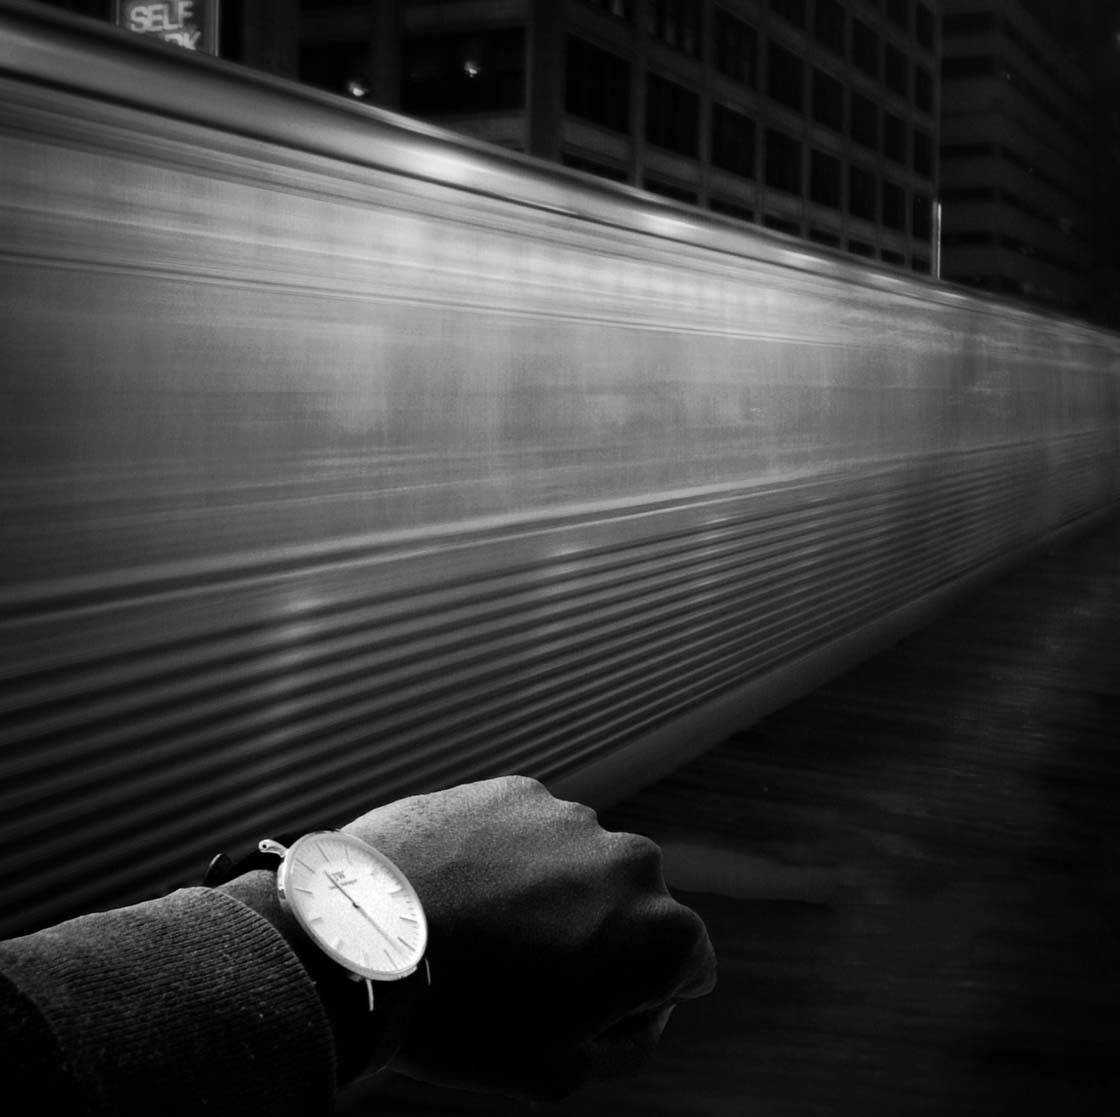
Sometimes motion blur can add to the story of your photo, for example, the blur of this speeding train shows how fast it was traveling past me.
However, if you want your entire image to appear sharp with no motion blur, it’s best to shoot stationary subjects.

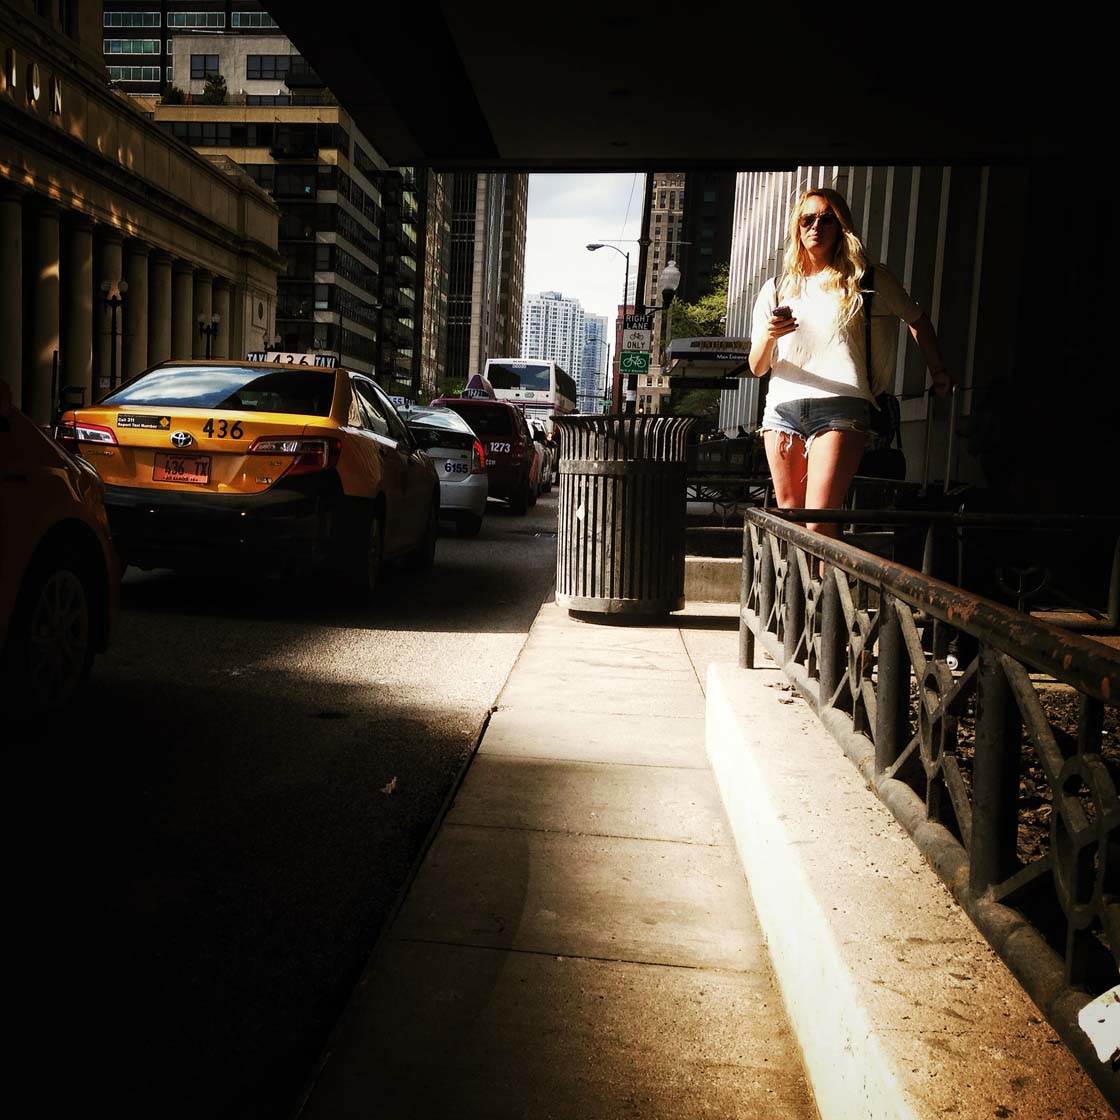
If there is movement, introducing more light into the scene will reduce the chances of motion blur because the camera can use a faster shutter speed.
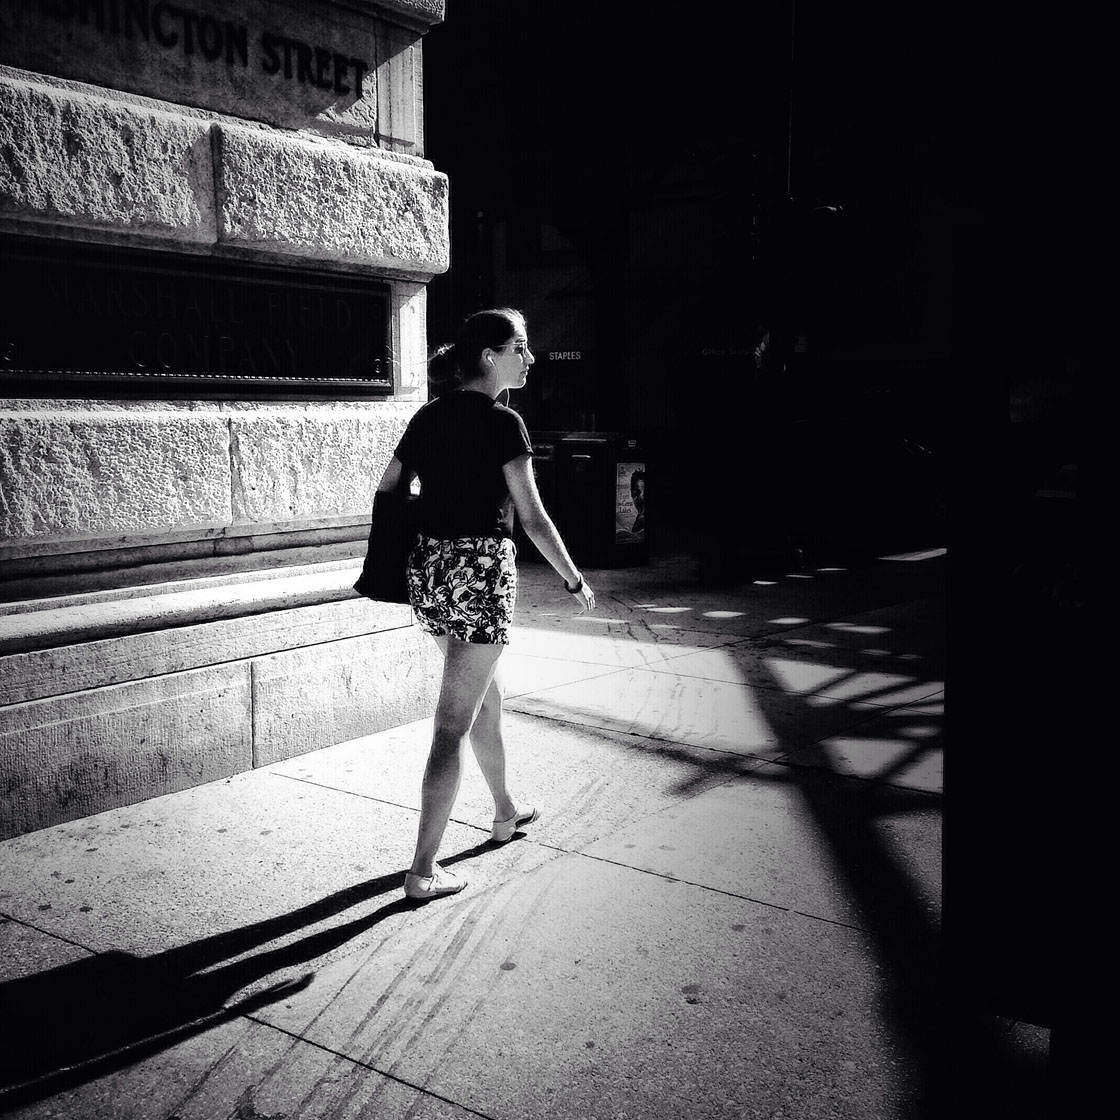
For example, shooting in a bright spot of sunlight on the street will mean that the camera can use a faster shutter speed than if you were shooting in the darker shadows.
If there’s any moving subjects in the scene, use burst mode to give yourself the best chance of getting at least one sharp shot without any motion blur.
To activate burst mode in the native camera app, simply hold down the shutter button to fire off a series of shots.
6. Avoid Grain
Grain or “digital noise” is usually considered a bad thing as it degrades the quality of your photos, reducing their sharpness and clarity.
Grain can be caused by several factors including low light, over-processing or a poor camera sensor.
The newer models of iPhone have better sensors which is why they tend to look clearer and sharper, but no matter which iPhone you have, there are certainly steps you can take to reduce grain in your pictures.

Have you noticed that your low light and night photos often look grainy? This is a common problem as the camera tends to use a higher ISO setting to create a brighter exposure.
But the downside of a high ISO setting is that it results in a grainy or “noisy” image.
In such cases there are two things you can do. One is to increase the light levels if possible by switching on a light or moving to a brighter area.
The more light in the scene, the lower the ISO setting will be, and therefore the less grain will appear in your photos.

If you’re struggling with low light and still getting grainy photos, swiping down on the camera screen to reduce the exposure will help.
By telling the camera that you want the image to appear darker, you can make the shadows appear pure black.
This basically prevents the camera from trying to brighten up the shadows and show detail (which results in grain).
Alternatively, try using a long exposure app like Cortex Cam, NightCap Pro or Average Camera Pro.
These apps work by shooting and combining multiple exposures of the scene, resulting in a smoother and less grainy image with better overall exposure.
Cortex Cam is my favorite app for shooting in low light. It combines multiple shots into one grain-free image in a matter of seconds.
It also doesn’t require a tripod, as long as you maintain a steady hand. However, for best results I would recommend using a tripod if you have one.
Finally, be careful when editing your photos. If you go overboard with strong editing effects, it can bring out the grain in your pictures. The photo below has been over-processed and the grain is especially visible in the sky.
When using editing apps to enhance your photos, pay careful attention when applying each effect to ensure that it doesn’t add grain.
In particular, brightening shadows and applying HDR effects can introduce grain into your pictures.
Rather than brightening all of the shadows in an image, a good tip is to use Selective tool or Brush tool in Snapseed to make precise selective enhancements.
In the photo above, I used the Snapseed photo editing tools to brighten up the subject’s face and give it more detail without brightening up any of the other areas in the scene.
7. Sharpen Photos In Post-Processing
The final tip in this tutorial is to use an editing app to sharpen your photos in post-processing.
This can help you achieve even sharper looking photos with a crisp and high quality appearance, ready for sharing on social media or printing.

Apps such as Snapseed, VSCO, AfterLight, FilterStorm Neue, Faded and PS Express have great sharpening tools that will give an image a quality look.
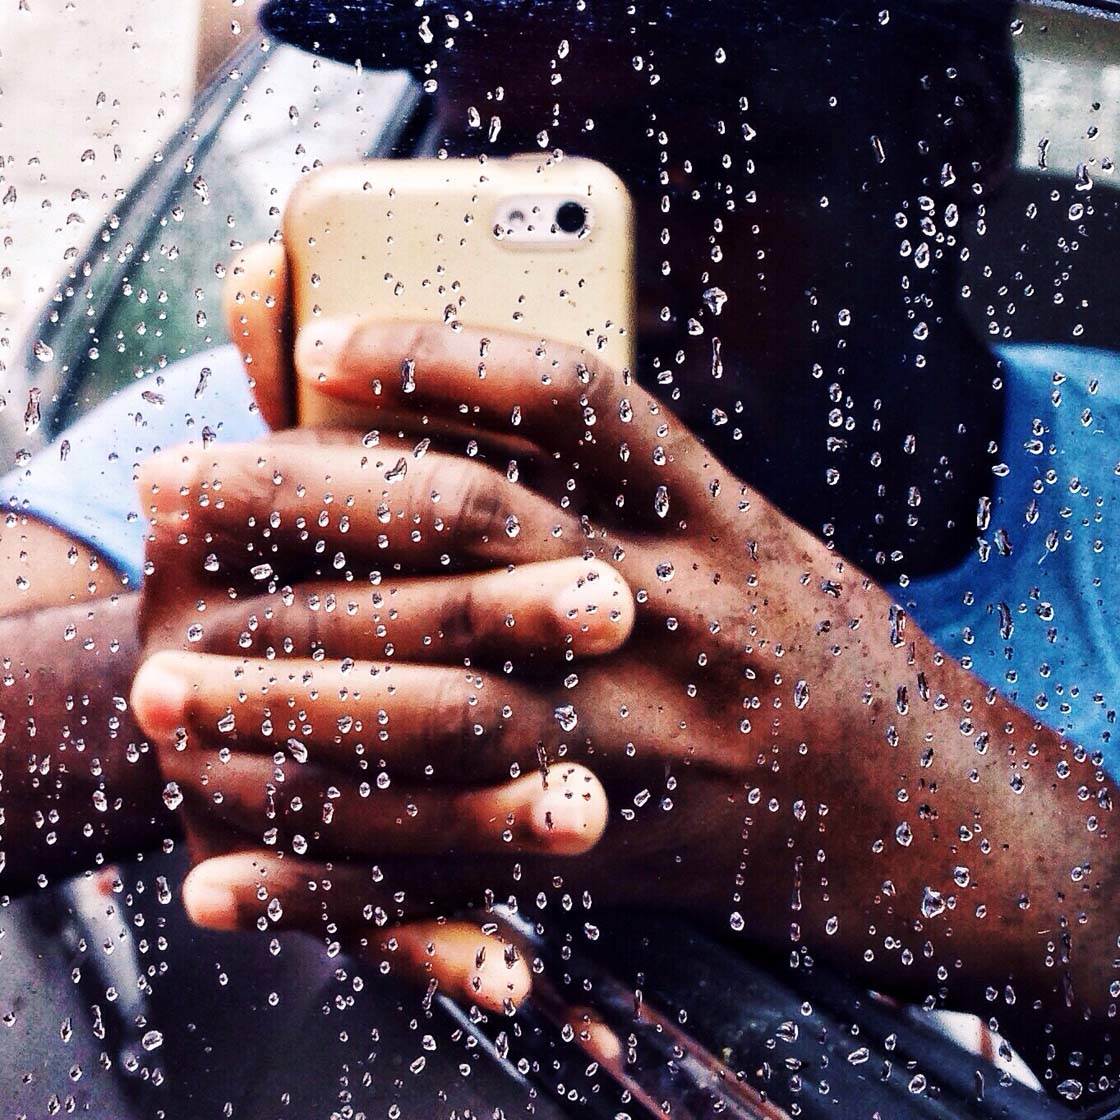
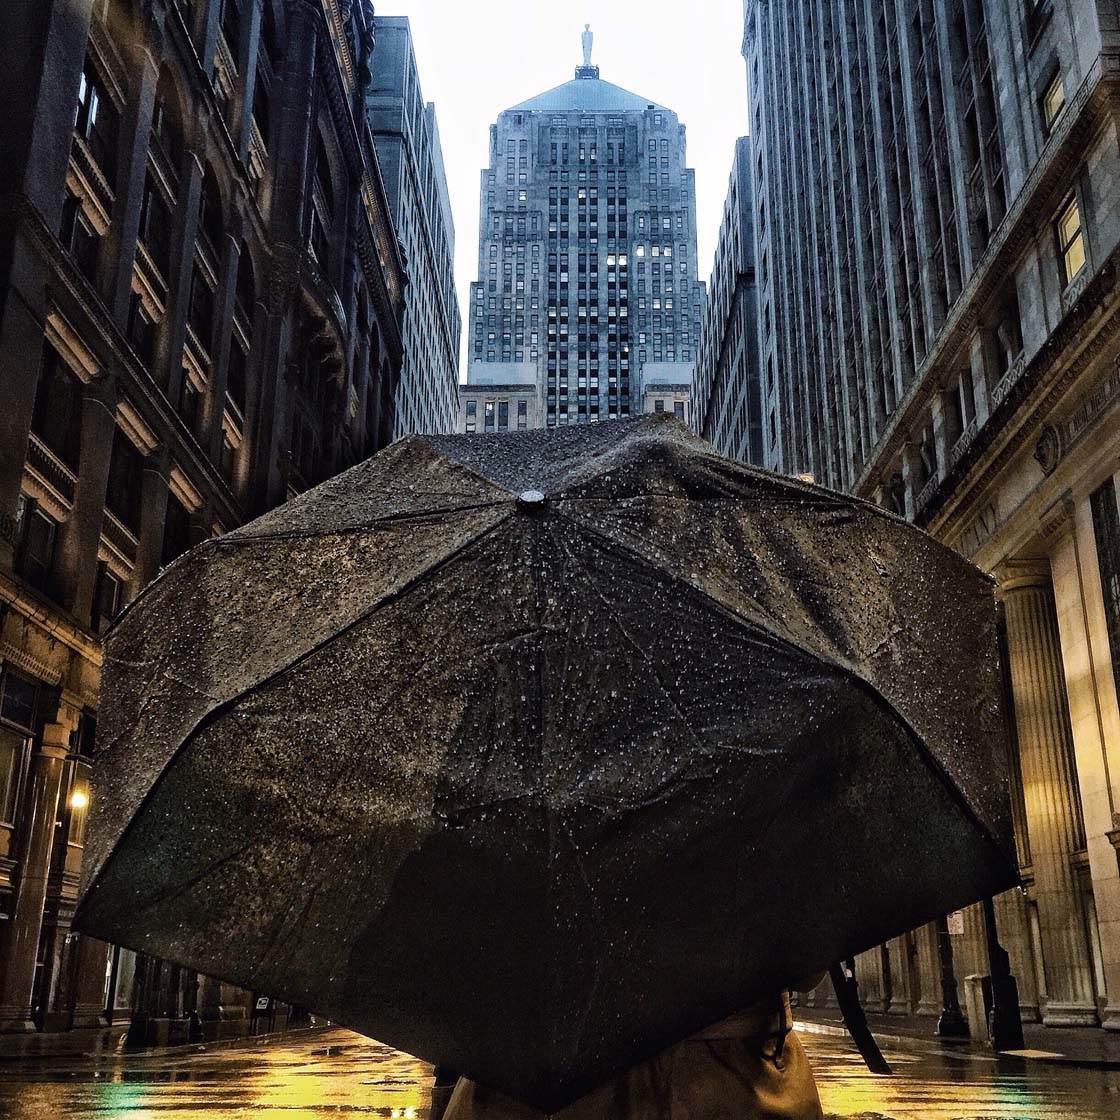
For rainy day shots, I like to use the Details tool in Snapseed and the Clarify feature in AfterLight to give raindrops more detail.
Keep in mind that caution should be exercised while using sharpening tools.
Over-sharpening can make the image appear grainy, so keep the sharpening subtle. The aim is to enhance the details without introducing grain.
A final tip is to try increasing the contrast a little bit when editing your photos as this can make an image look sharper.


