How to Make a GIF from a YouTube Video
How to Make a GIF from a YouTube Video
GIFs have taken over the Internet such a long time ago, it’s hard to imagine social media communication without them. Everywhere from Facebook to Reddit, users communicate a wide range of emotions, make witty jokes and reference pop culture with the help of these short, yet expressive animations. Create GIFs of your own by following the steps below!
Making a GIF Online
There is a number of different websites for the task, though Giphy remains to be the most efficient. The process is easy to grasp, it takes less than 5 minutes, and there is a handful of GIF customization options. Giphy supports links from YouTube and Vimeo, as well as images and videos from user computer.
1.
Open the Giphy GIF Maker page.
2.
Paste your YouTube URL into the box at the bottom of the page.
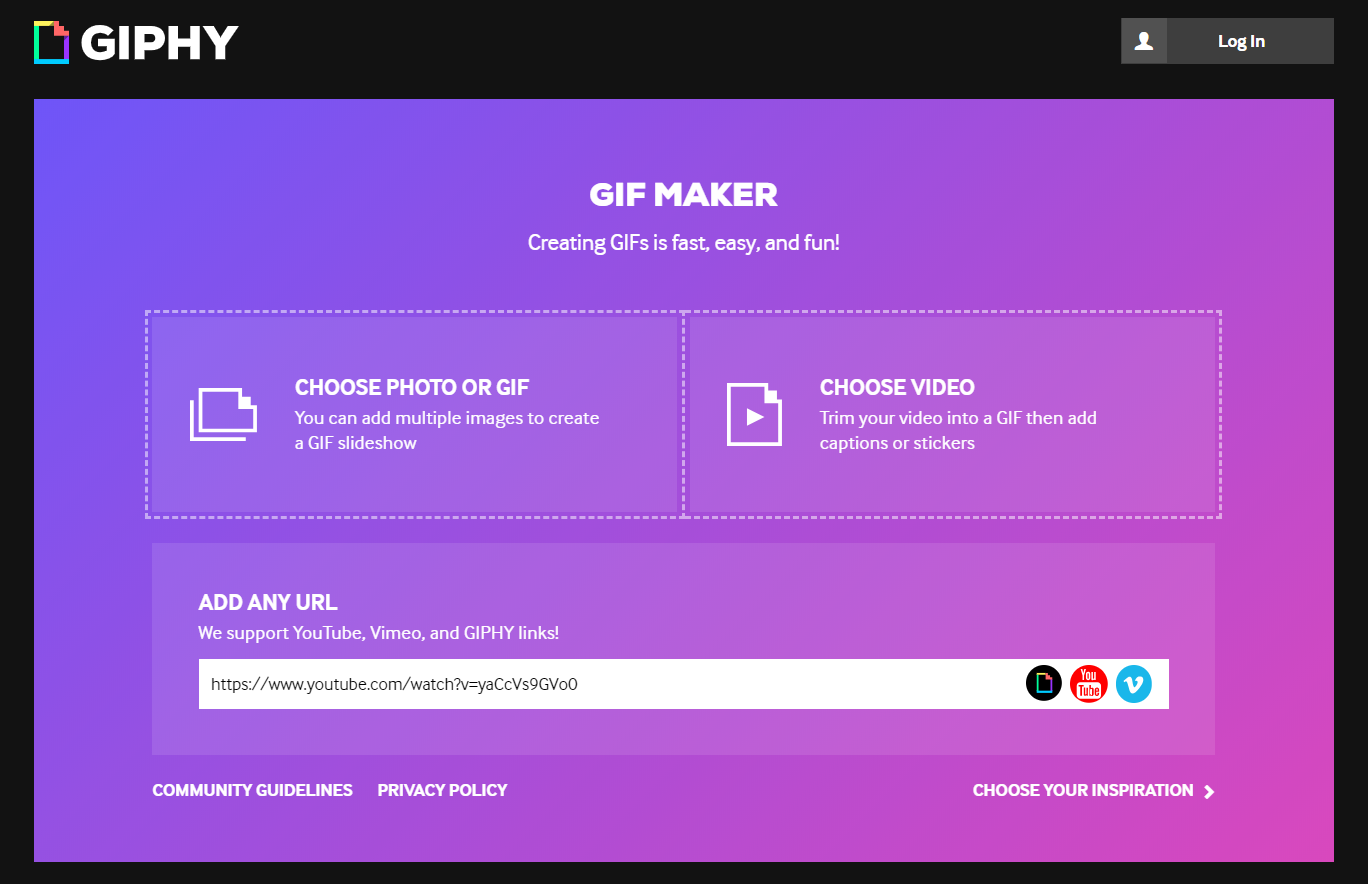
Note that the video must be 15 minutes or less.
3.
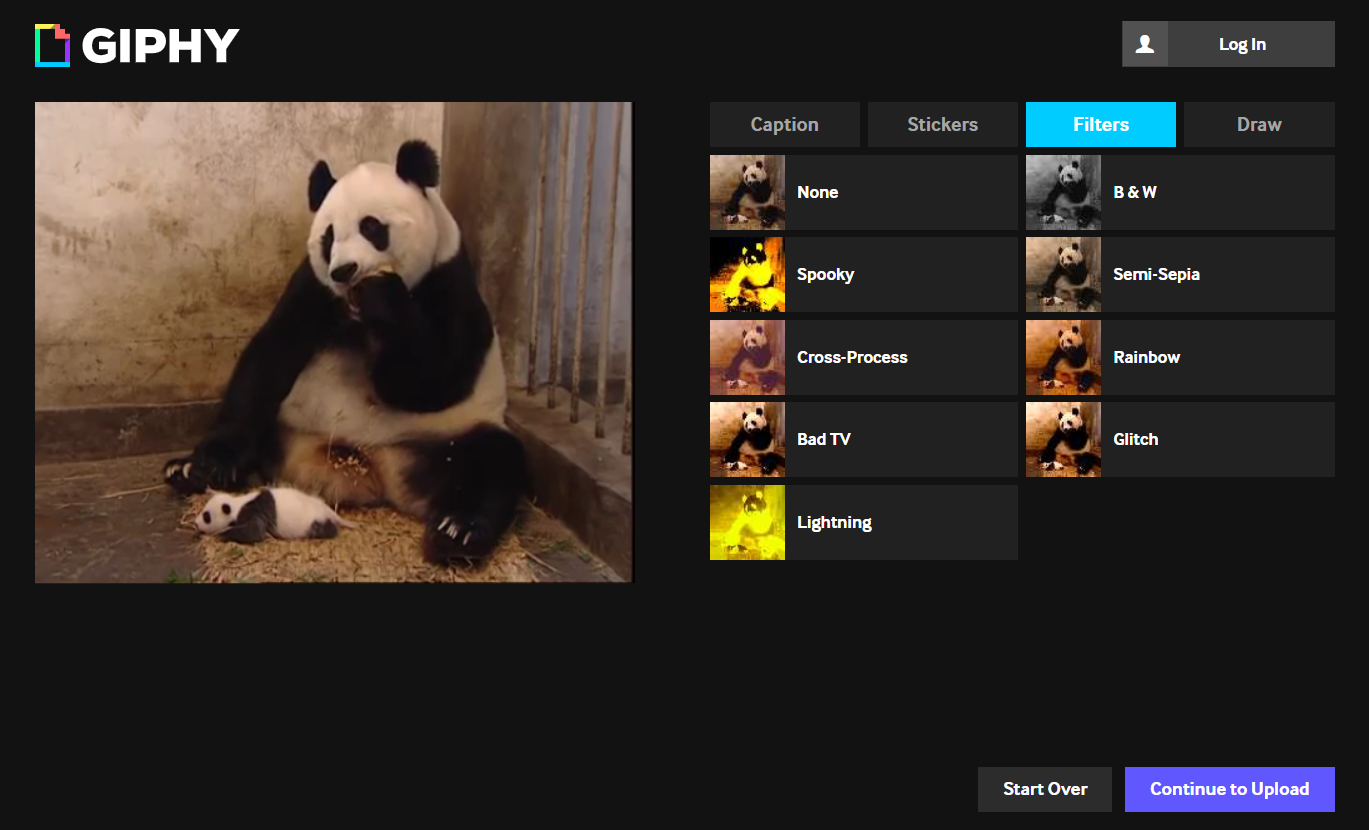
Select the start time and duration of your GIF.

Once you’ve chosen, click the “Continue to Decorate” button.
4.
Add a caption, stickers, filters or even draw on your GIF if you feel like it!
5.
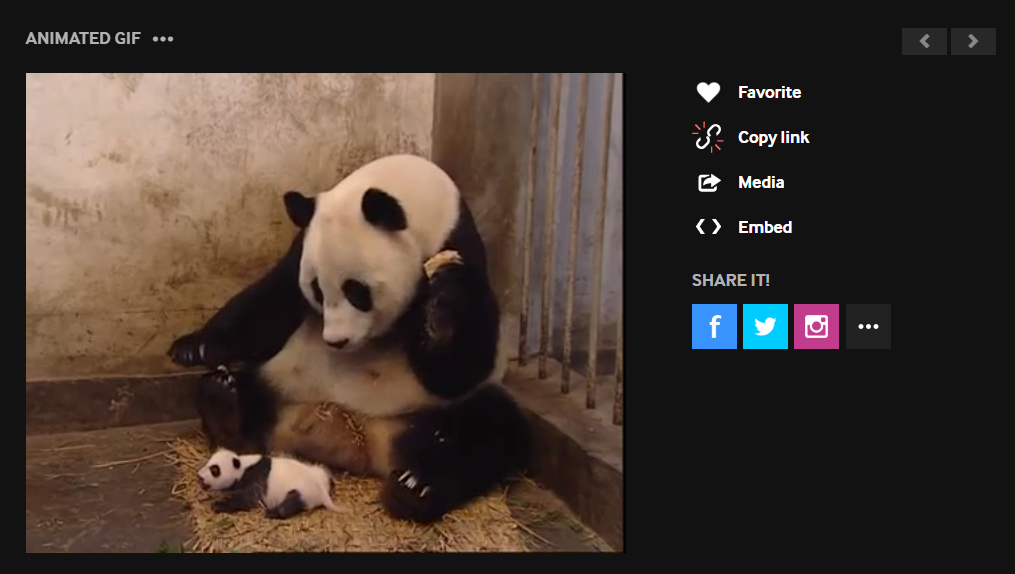
Click the “Continue to Upload” button, wait until the process is finished.
6.
Share the result over social media, get link to embed it to your blog or download it to your computer.
Making a GIF on a Computer
This method requires having a YouTube video on your hard drive. In case you don’t have it downloaded or don’t know how to, just follow the steps below.
1.
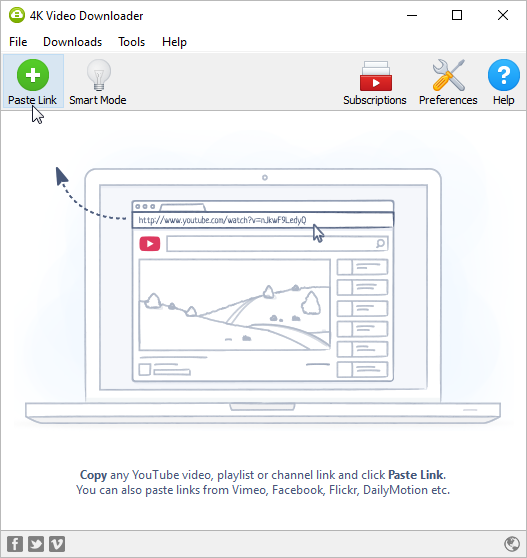
Launch 4K Video Downloader.

Get 4K Video Downloader
Download
2.
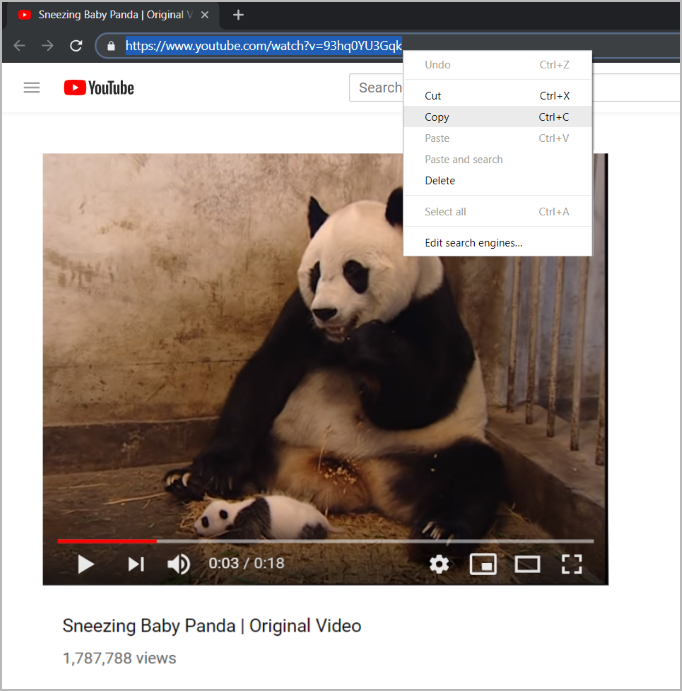
Copy the video URL from your browser.
3.
Press the Paste Url button in 4K Video Downloader application.
4.
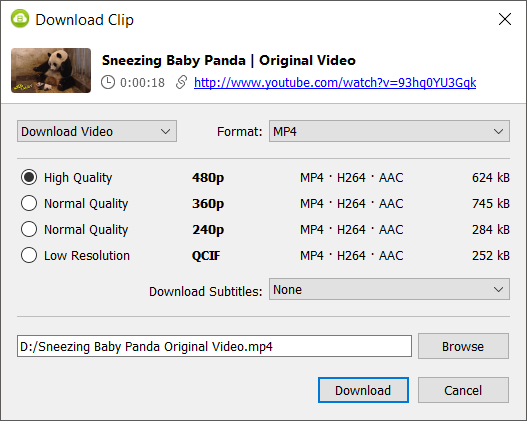
Select a quality type in the download window and press the Download button.
5.
Wait until the downloading is completed.
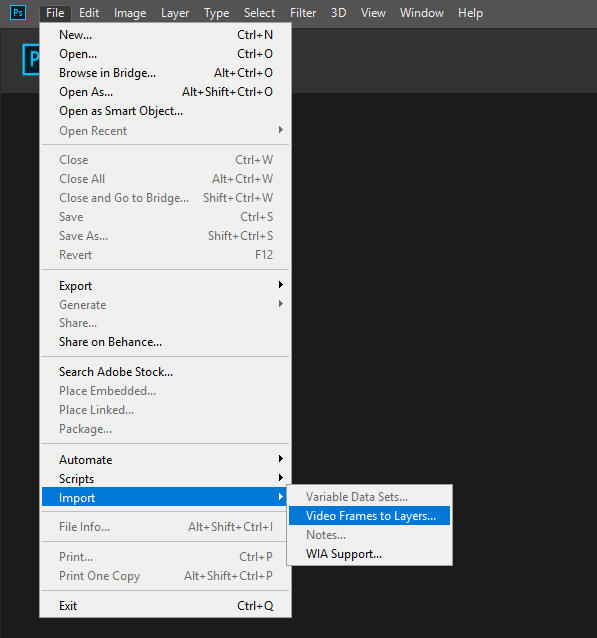
Once you’ve got the YouTube video you want to make a GIF out of, open Adobe Photoshop (the version depicted on the screenshots below is CC 2019) and do the following:
1.
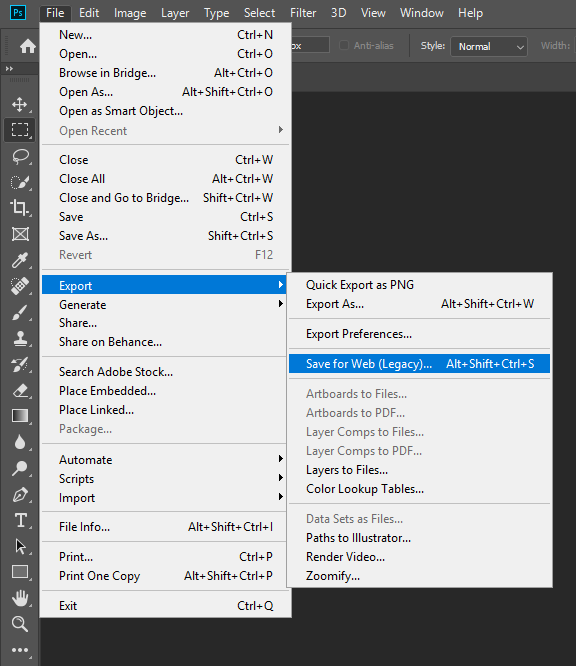
Click File at the toolbar, the drop-down menu will appear.
2.
Hover the cursor over Import and select the Video Frames to Layers option.
3.
Select the video you’ve previously downloaded.
4.
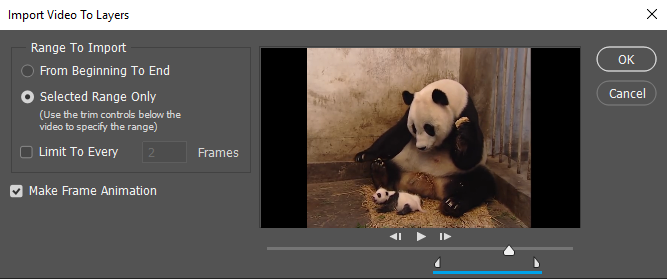
Change the settings of your soon-to-be GIF in the Range to Import section: pick range length and set frames limit (it helps to conserve the file size.).
5.
Move the sliders under the video thumbnail to select the part of the video you want to use.
6.
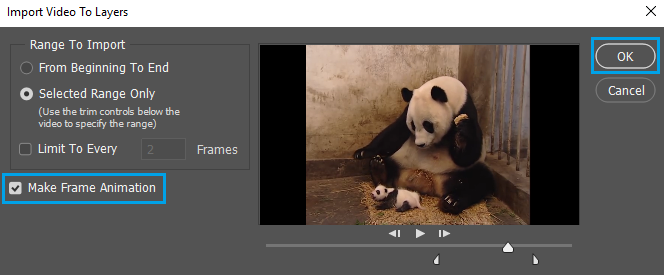
Check the Make Frame Animation box in the dialog window and click OK.
7.
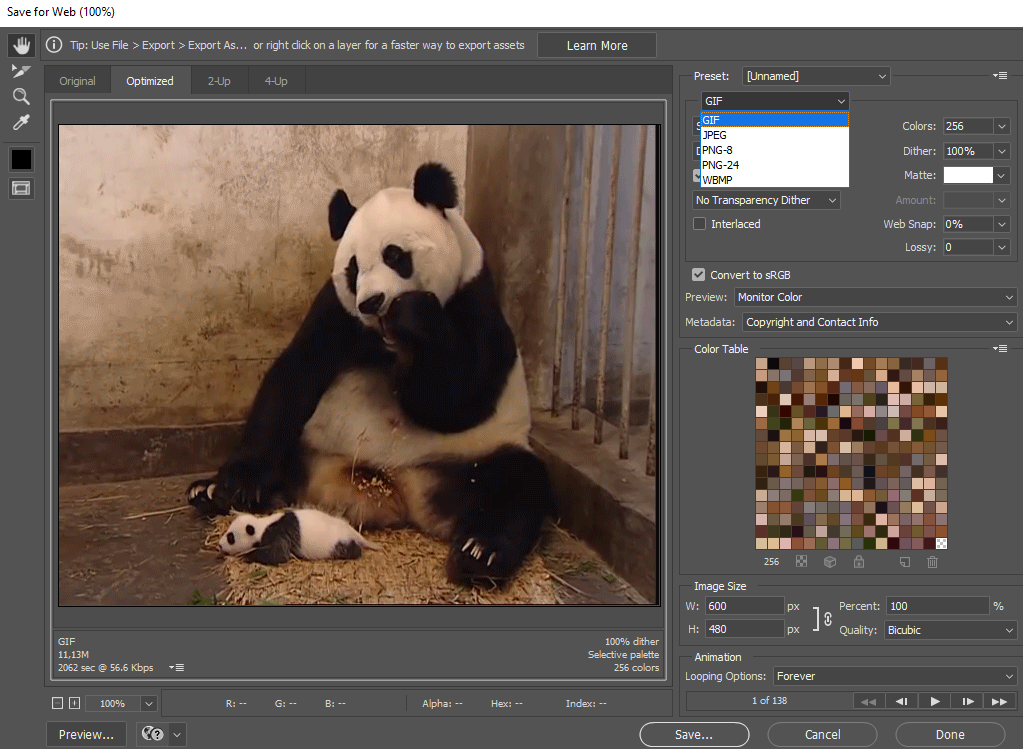
Go back to the File menu item, hover the cursor over Export and click the Save for Web (Legacy) option.
8.
That’s it! Change the number of colors, image format, looping options and play with other settings if needed, and save your GIF.